2. Connect a Git remote
A remote is a Git repository on a server, such as GitHub. Once your notebook has one, GitWriter syncs to it: your notes get a backup, and other devices can download them.
You'll need three things:
- an empty repository on a Git host,
- a personal access token, which GitWriter uses instead of your password,
- the notebook from part 1.
GitHub is used as the example below. Other hosts work the same way, and the last section covers the differences.
Step 1: Create a repository
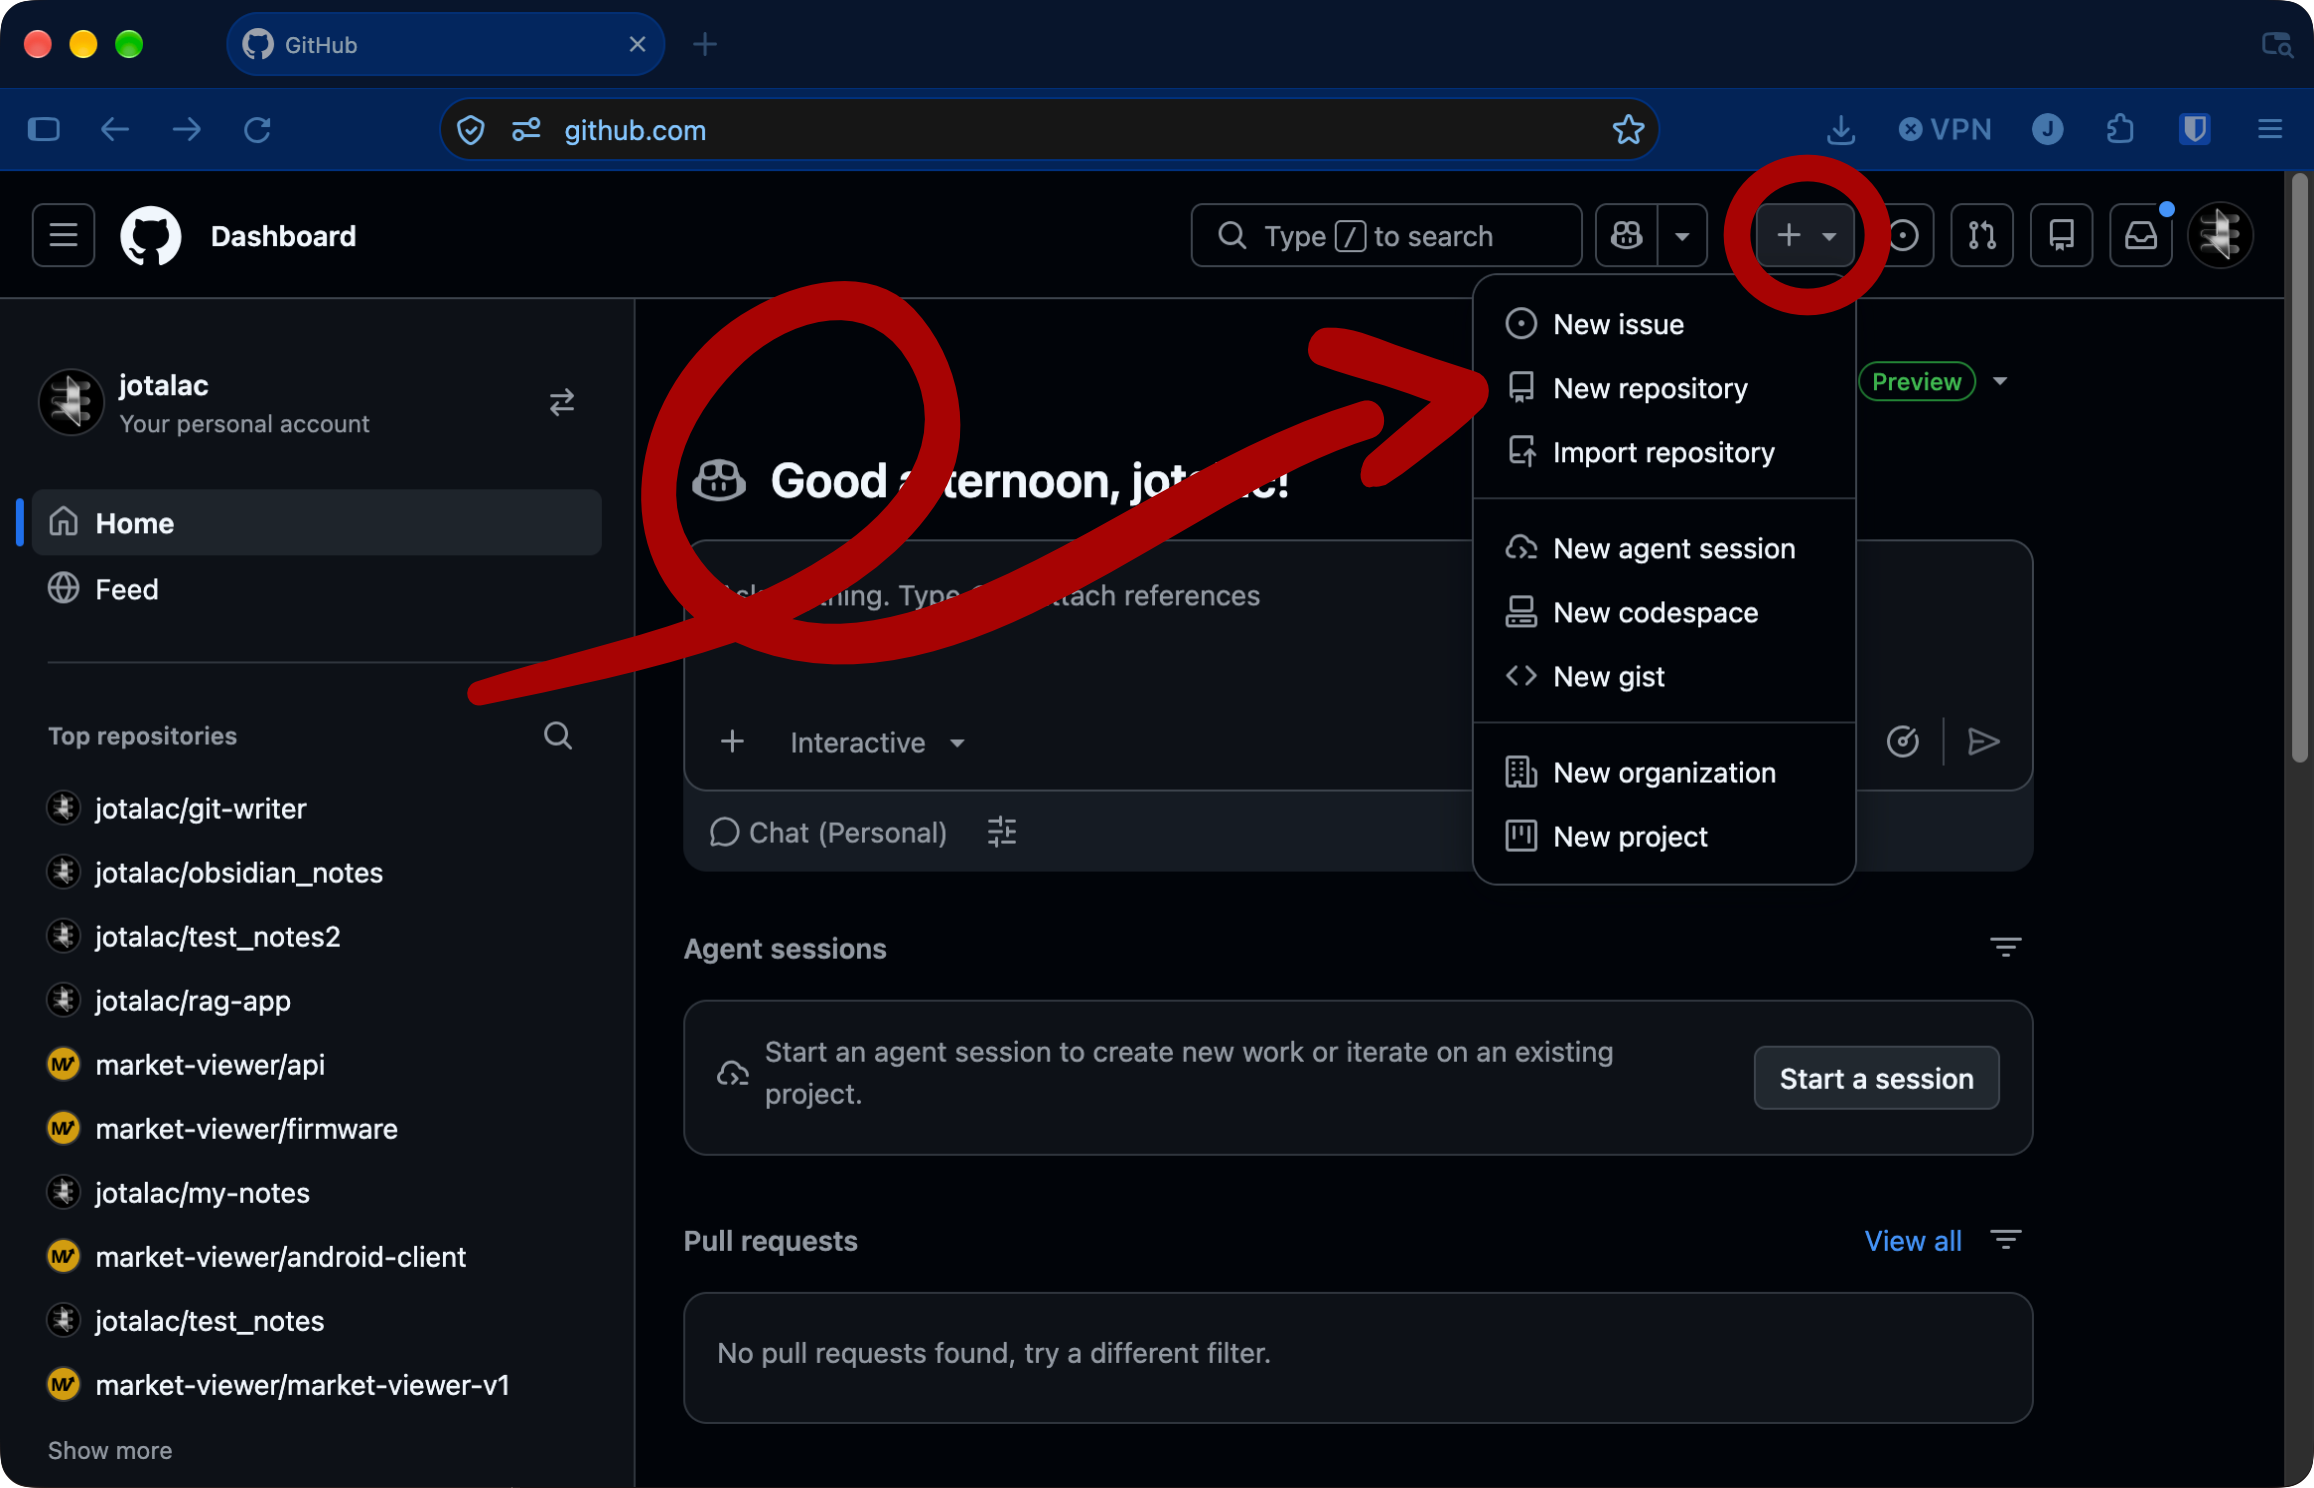
- On GitHub, click + → New repository.
- Name it, for example
notes. - Set it to Private.
- Don't add a README,
.gitignoreor license. The repository must stay empty, because your notebook already has its own history.
- Click Create repository and copy its HTTPS URL, for example
https://github.com/you/notes.git.
Already have notes in a repository?
If the repository already holds notes, for example from another device, don't connect it to a new notebook. Clone it instead, see part 3.
Step 2: Create a personal access token
GitHub doesn't accept your account password for Git over HTTPS. You create a token instead: a password that only works for what you allow it.
- Click your profile picture → Settings.
- At the bottom of the left sidebar, open Developer settings.
- Open Personal access tokens → Fine-grained tokens, and click Generate new token.
- Fill it in:
- Token name: for example
GitWriter. - Expiration: your choice. When it expires, you create a new one and paste it into GitWriter.
- Repository access: Only select repositories, then pick your notes repository.
- Permissions → Repository permissions → Contents: Read and write.
- Token name: for example
- Click Generate token and copy it. GitHub shows it only once.
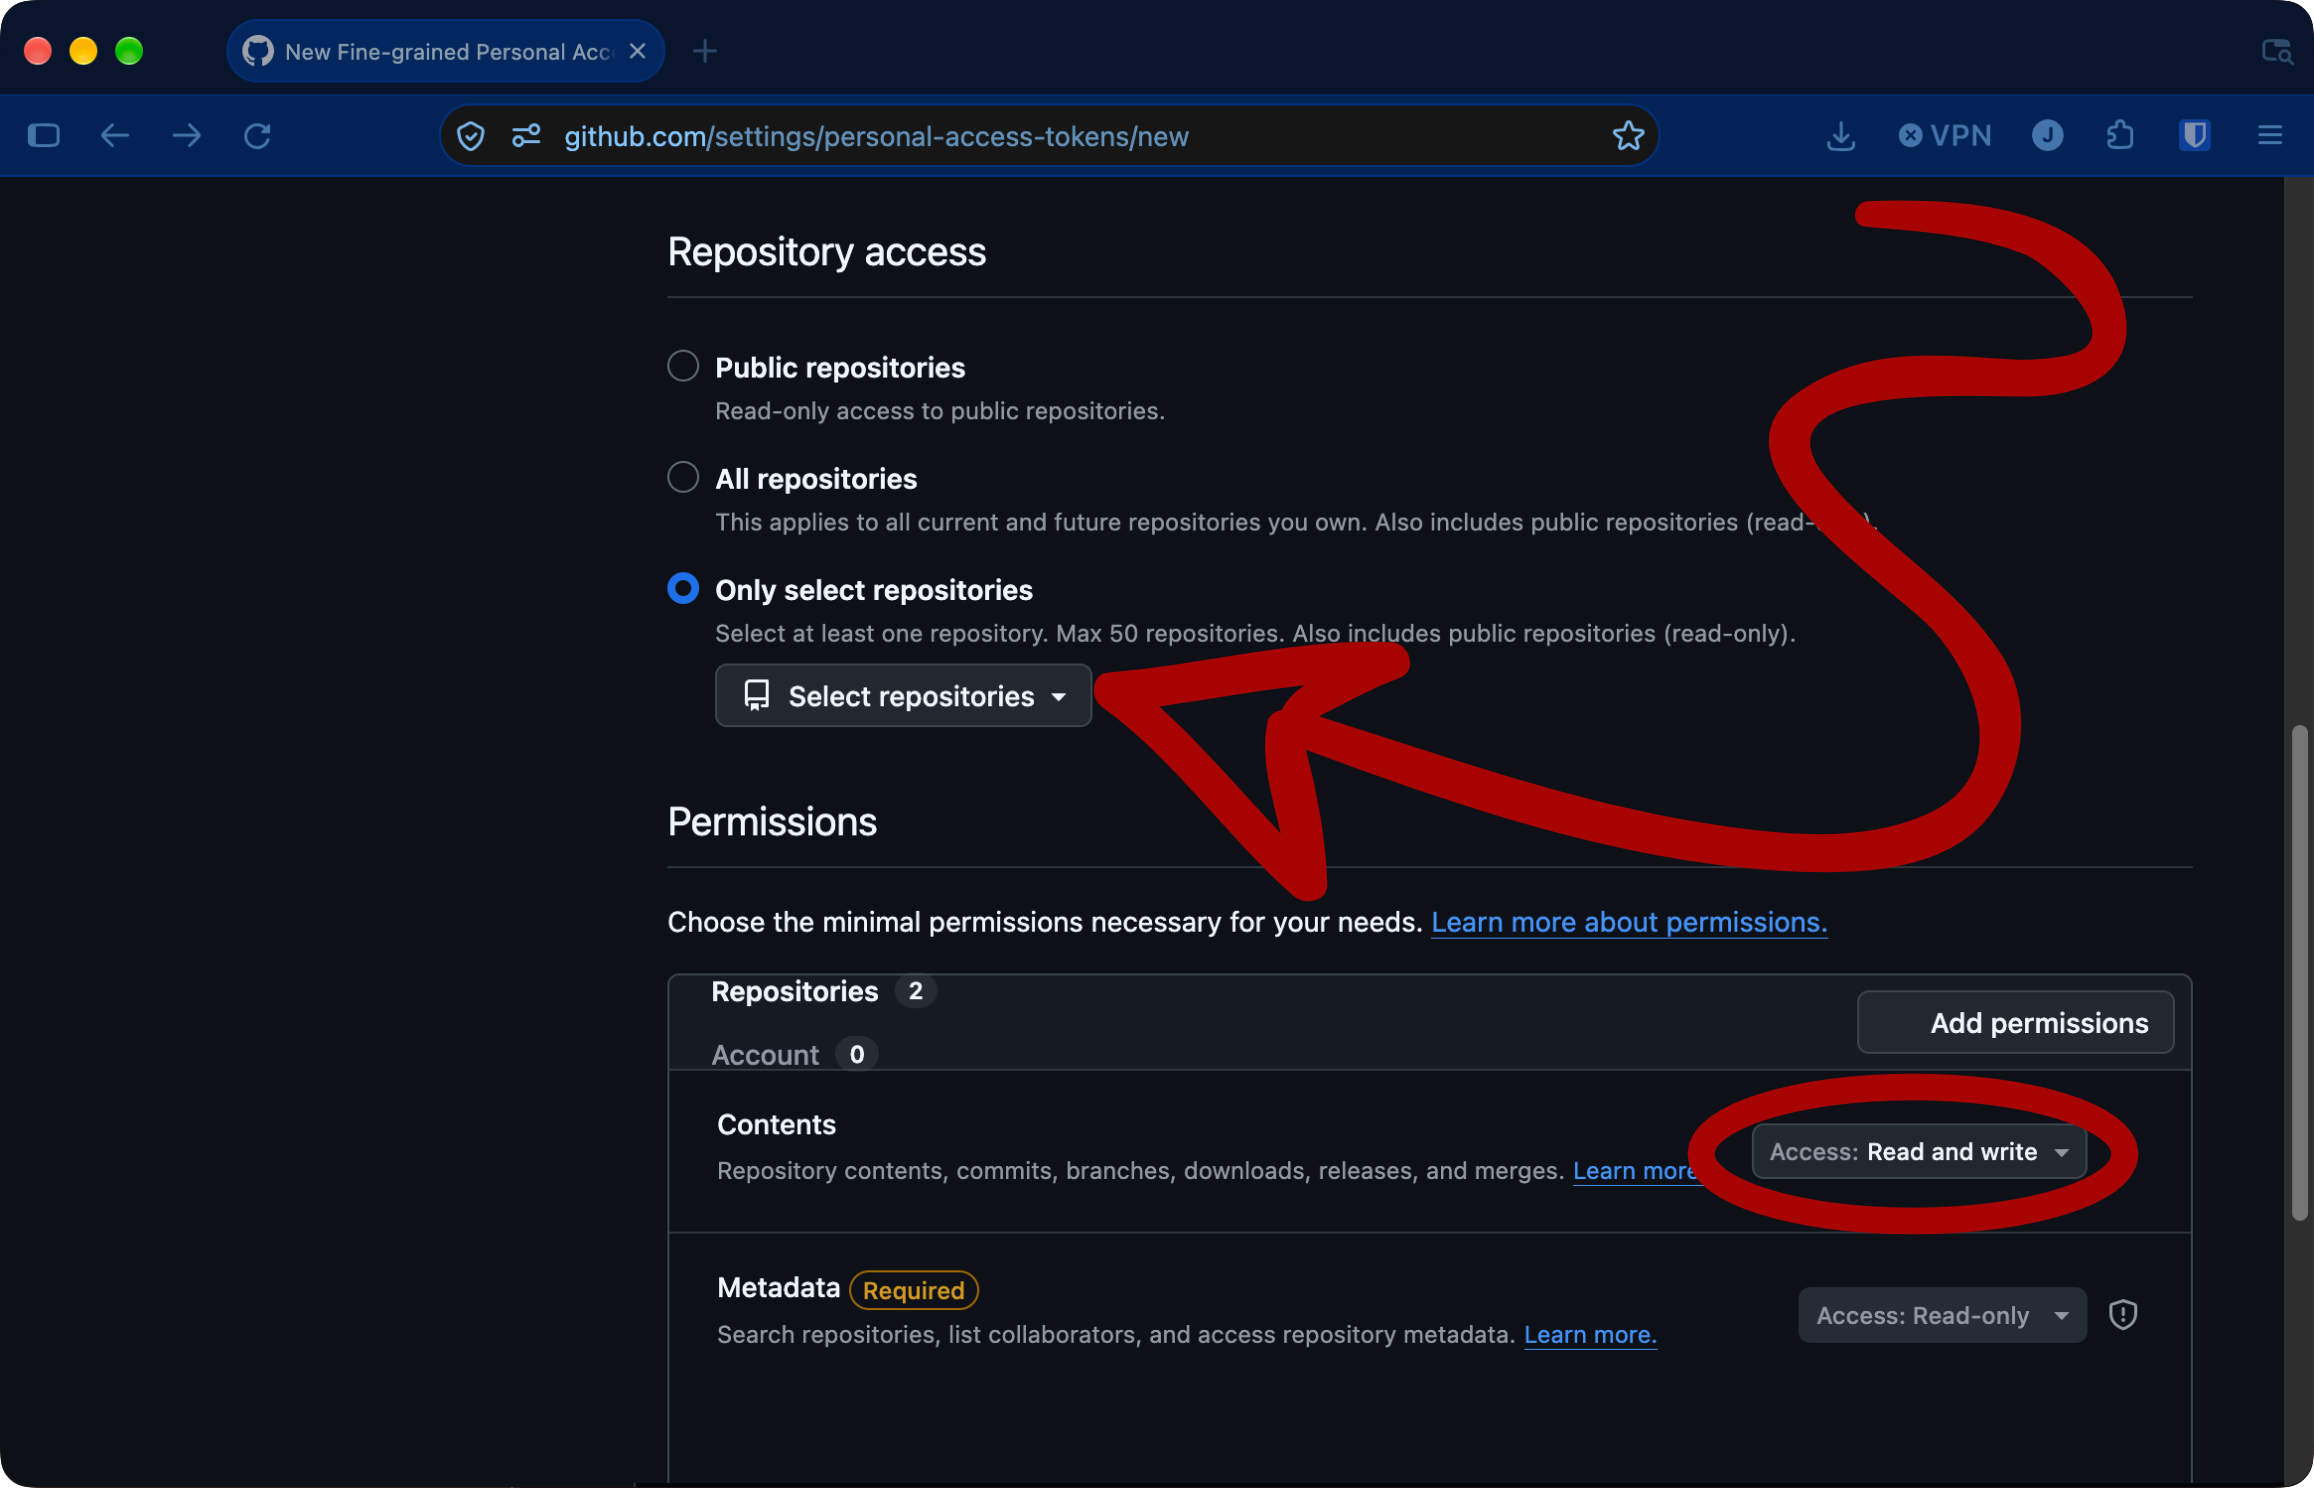
Limit the token to one repository
A token limited to your notes repository can't touch anything else on your account, even if it leaks.
Step 3: Add the remote to the notebook
- In GitWriter, open the notebook.
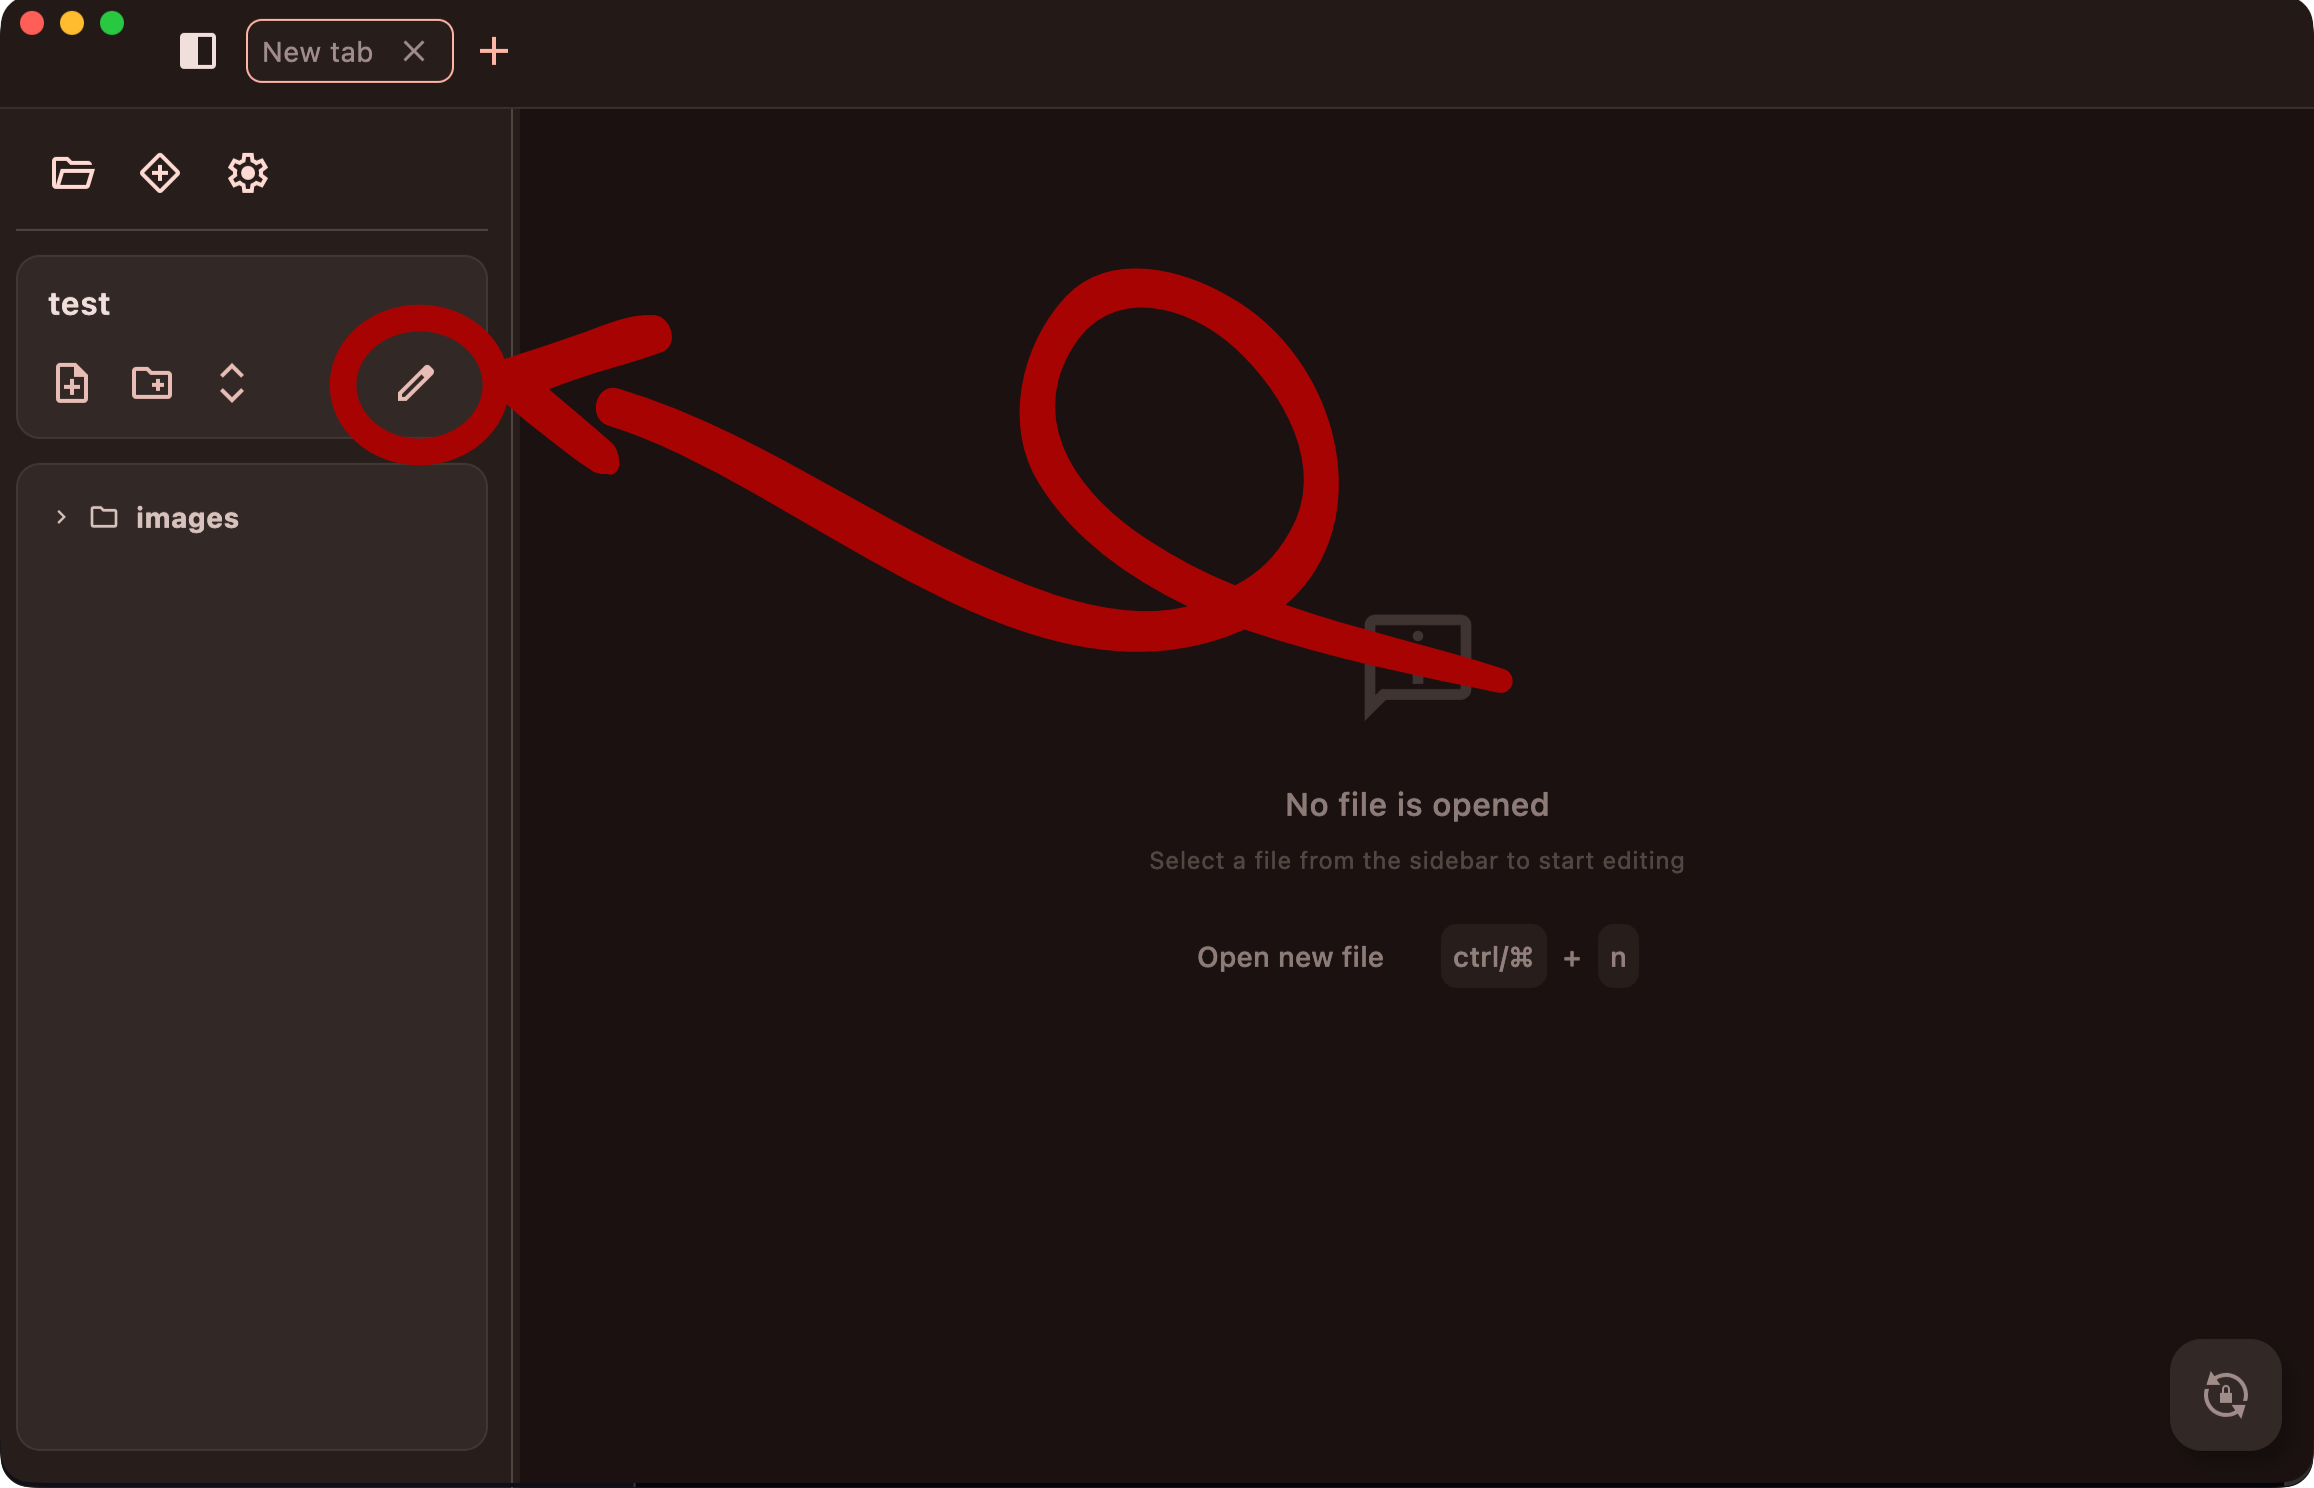
- Click Edit notebook in the sidebar.
- Under Remote credentials, fill in:
- Repository URL: the HTTPS URL from step 1.
- Username: your GitHub username.
- Password/Token: the token from step 2.
- Leave Encrypt notebook off for now. It's covered in part 4.
- Click Save.
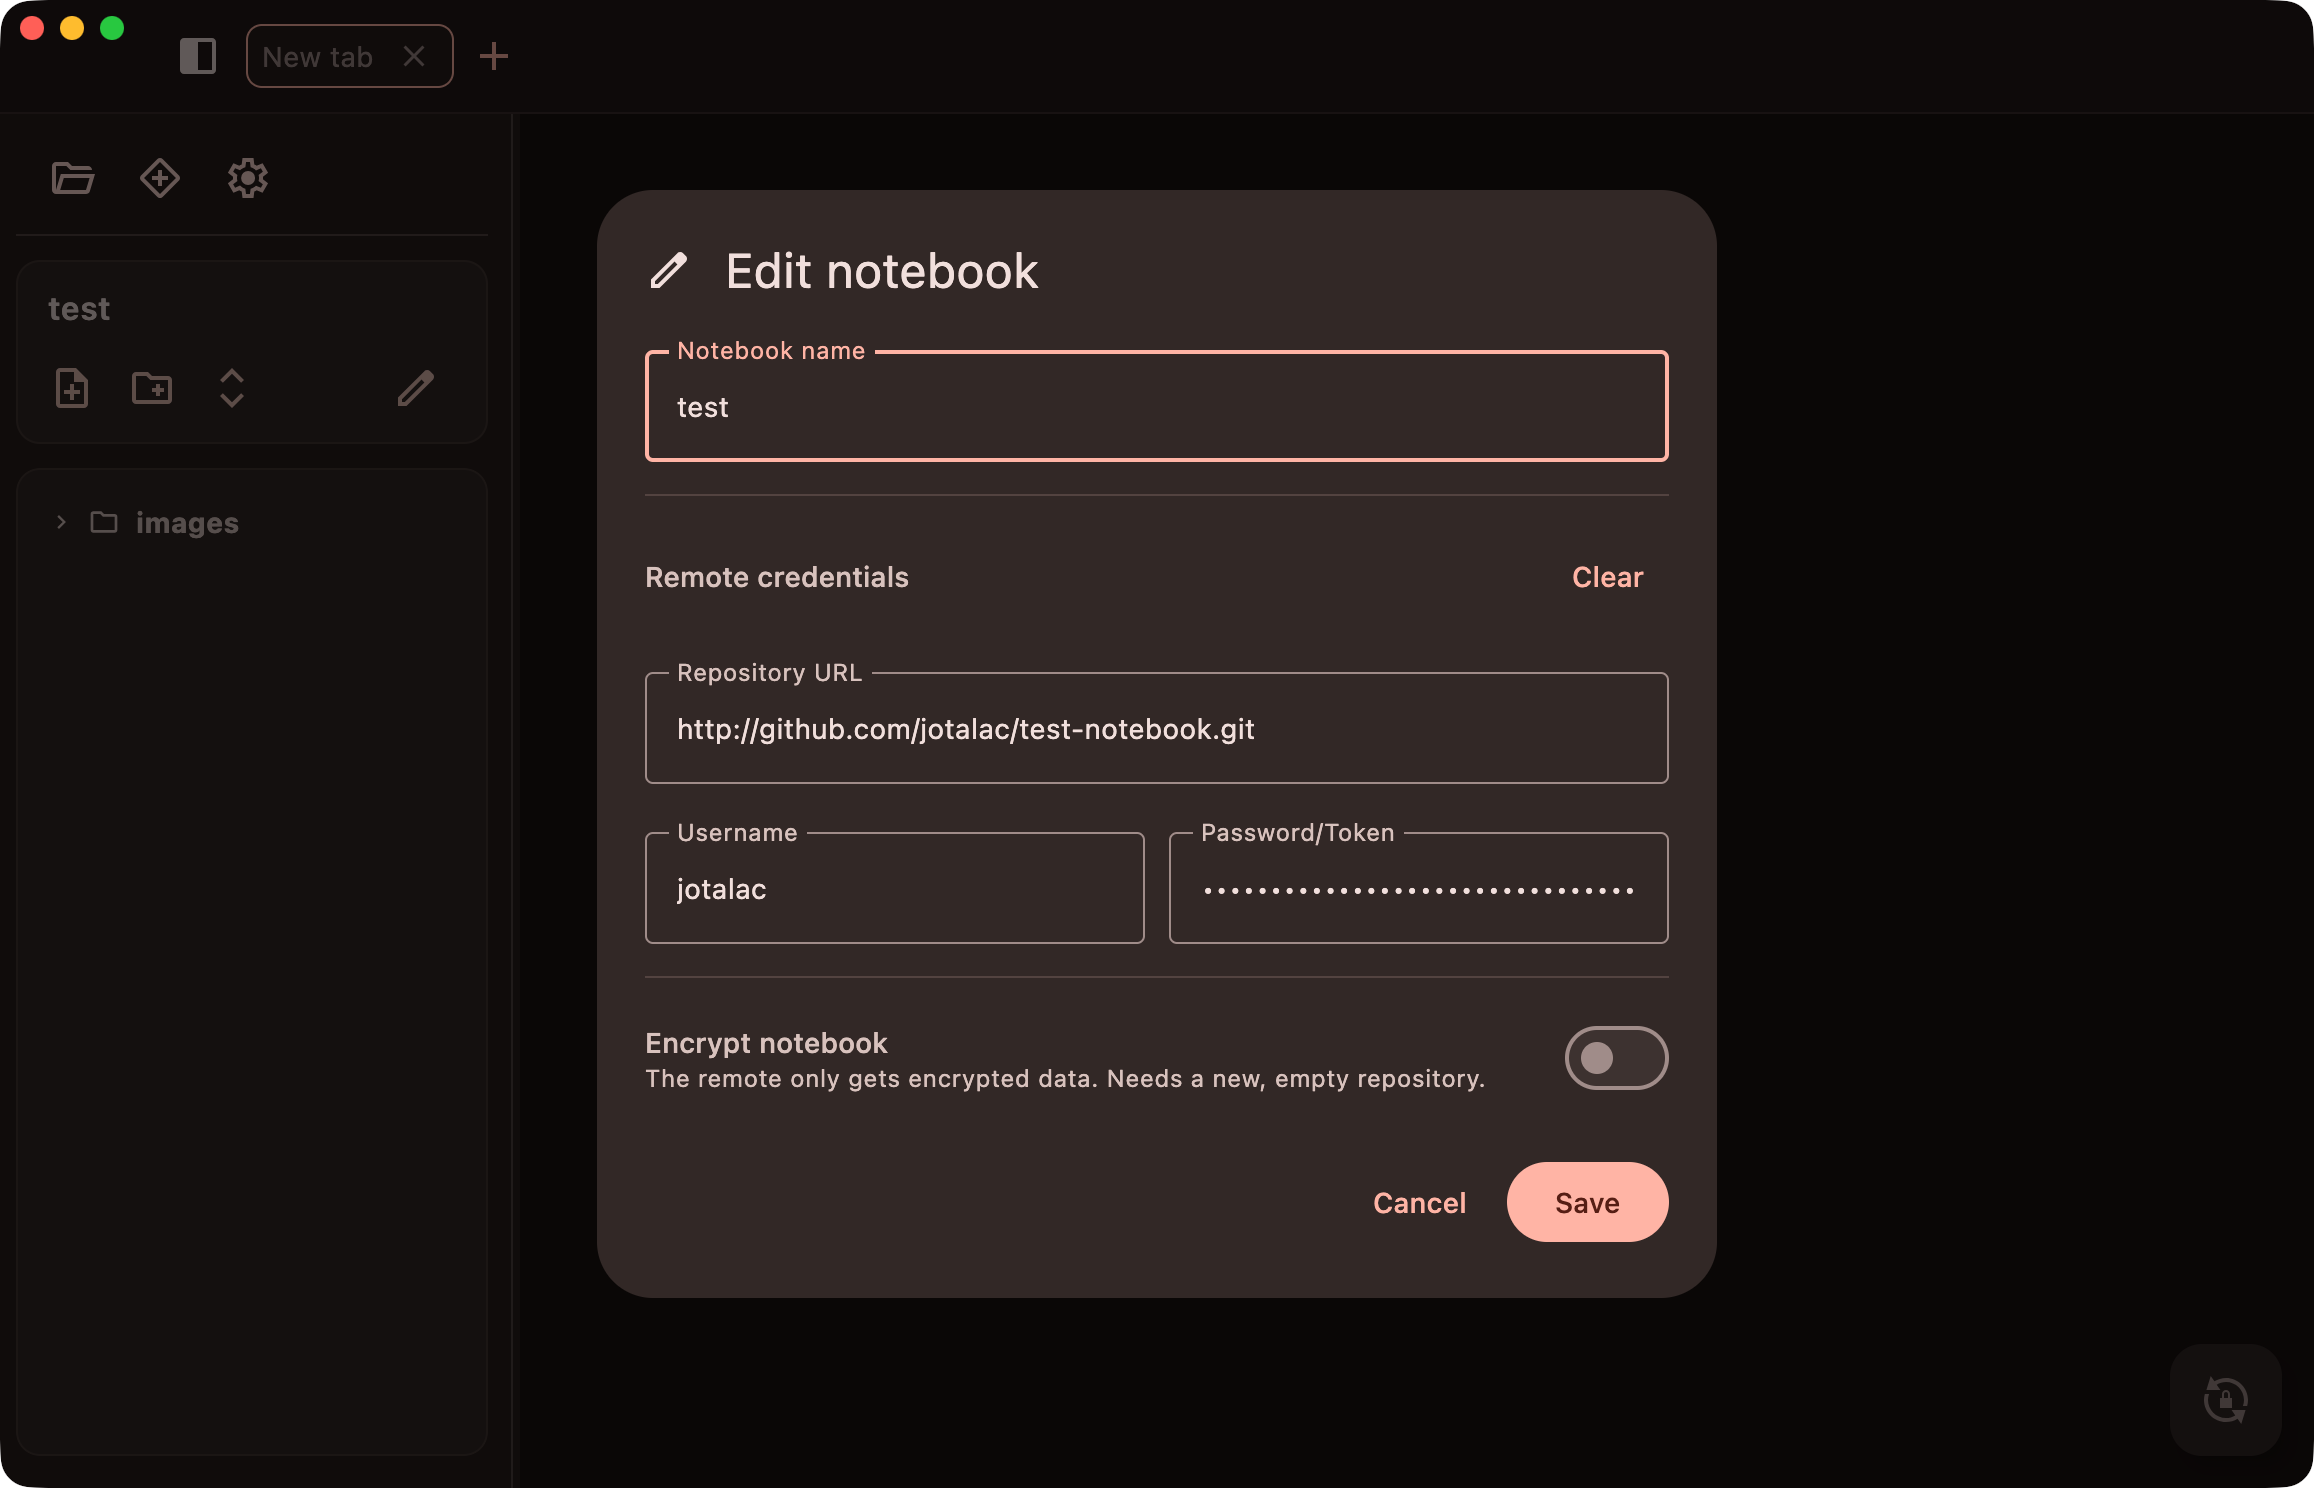
GitWriter checks that it can reach the repository with these credentials before saving. A typo in the URL or a token without access shows an error instead.
Step 4: Sync
The sync button in the corner of the editor shows the sync state. Tap it to sync now.
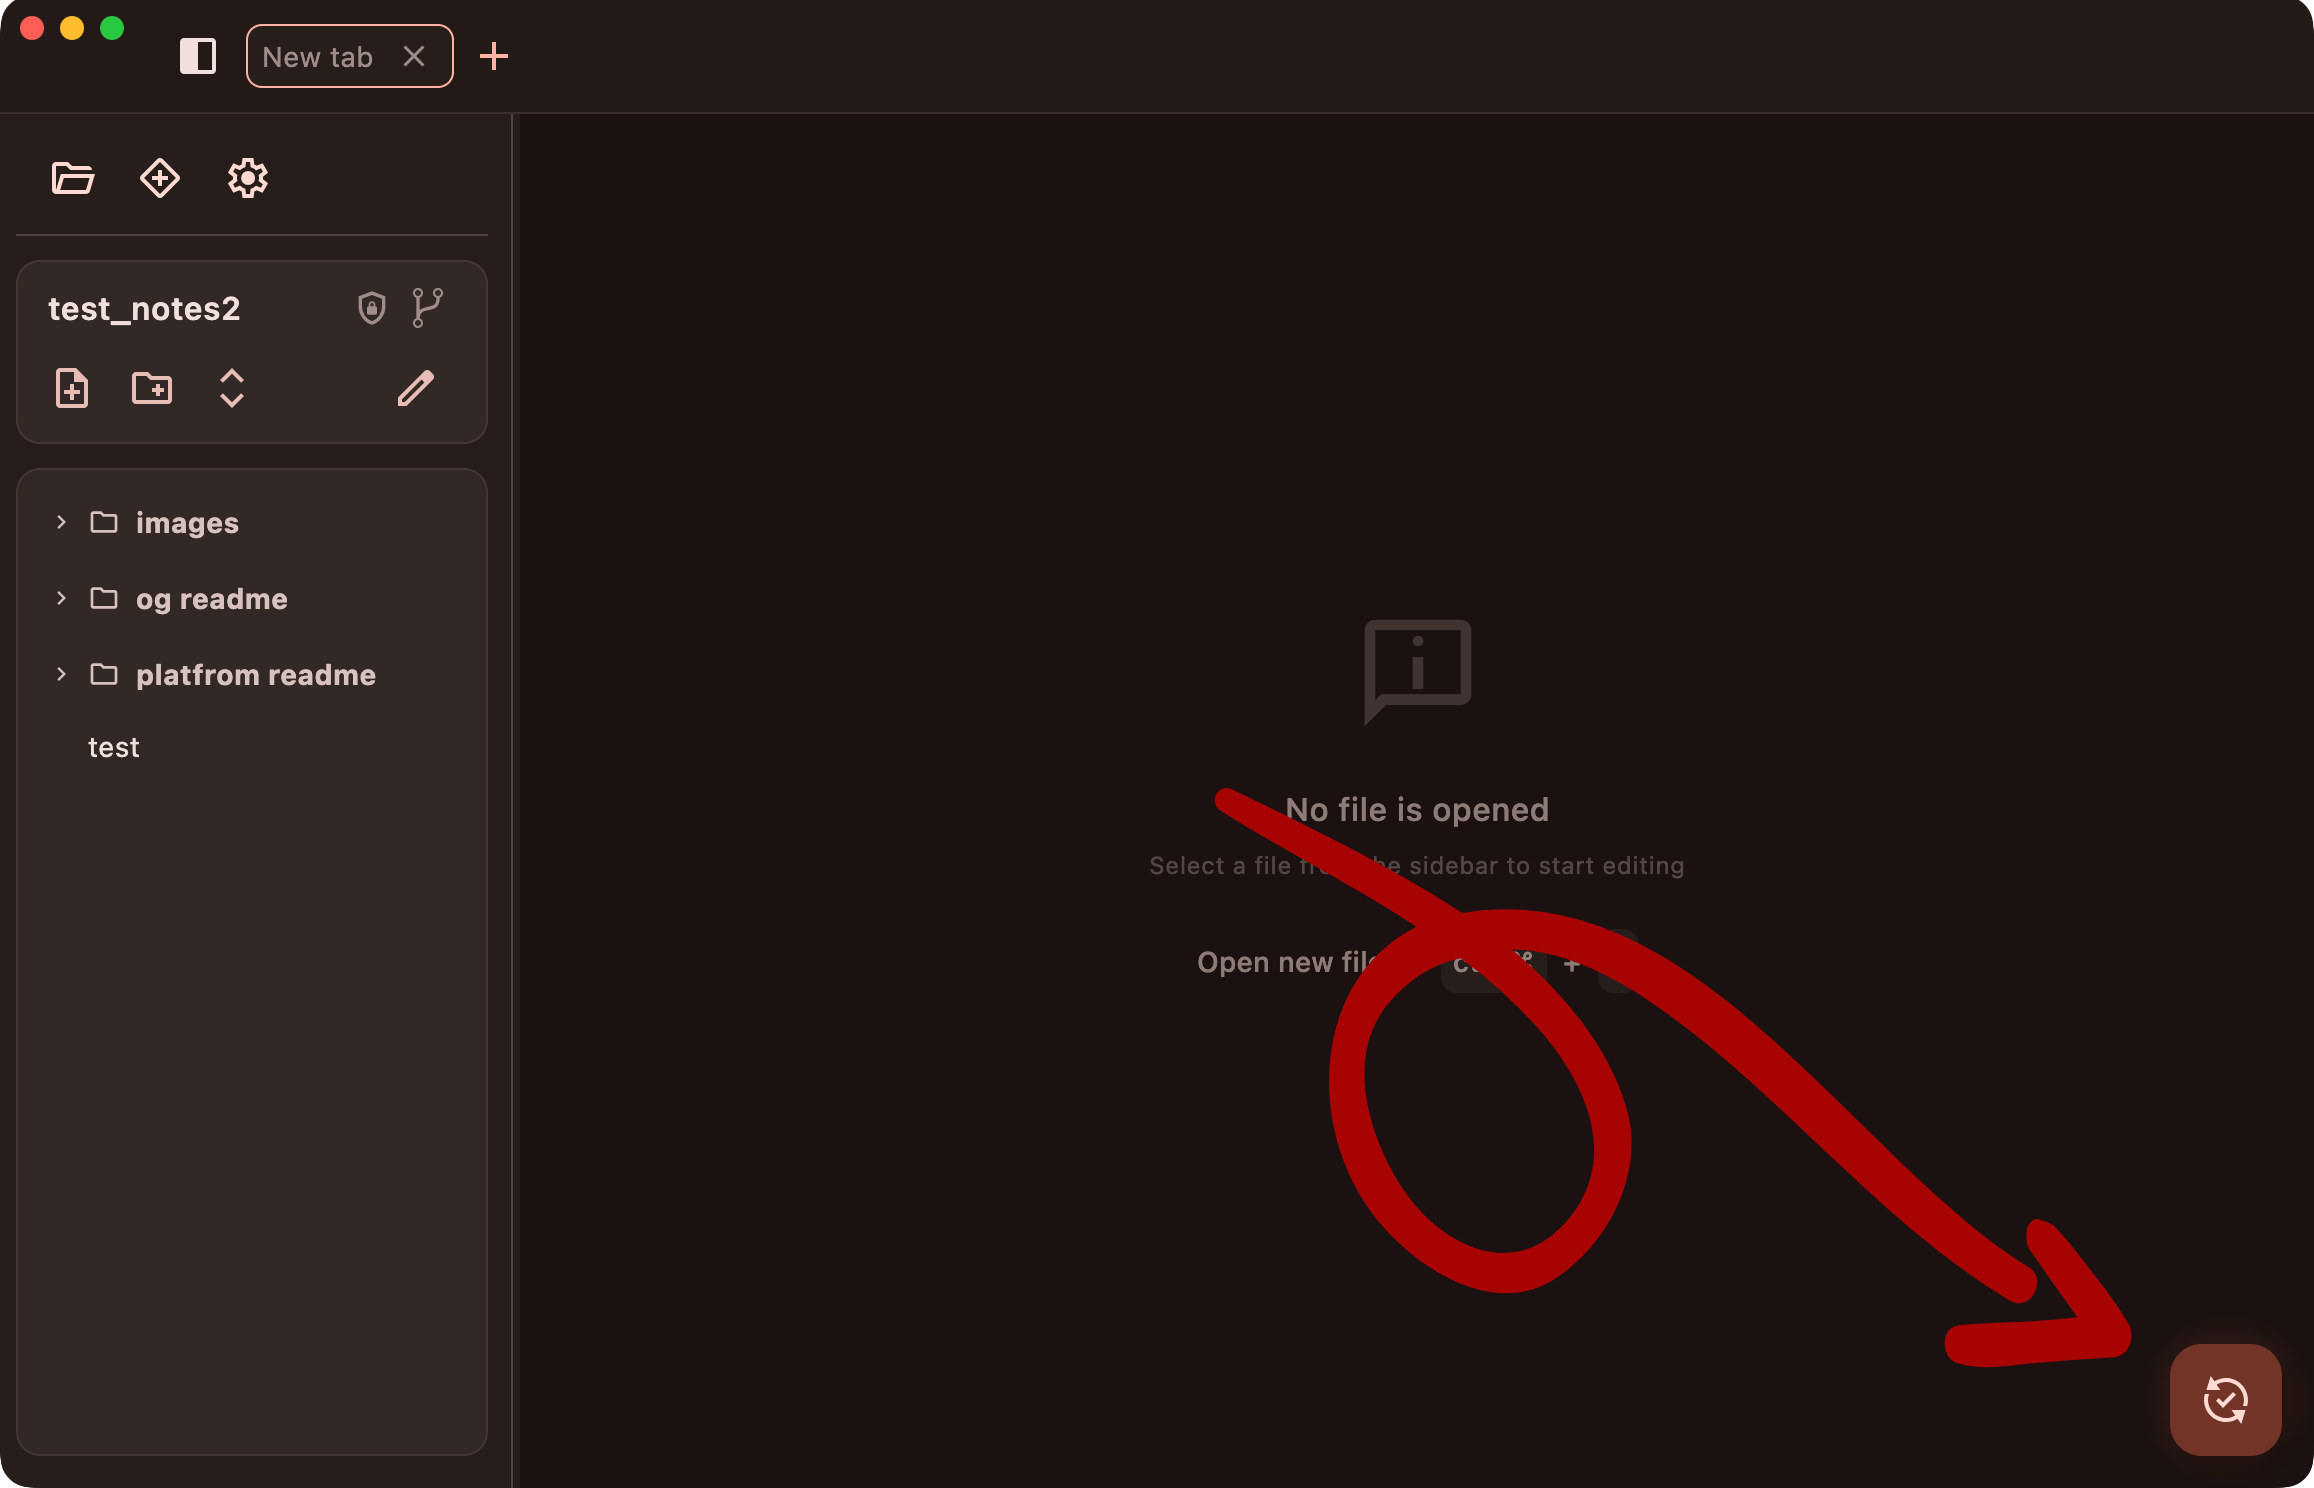
The first sync uploads the whole notebook. Open the repository on GitHub and you'll see your notes there as plain Markdown files.
From now on you rarely need the button. With Auto sync on (it is by default), GitWriter syncs:
- when you open the notebook, so also when the app starts,
- every 10 minutes while the app is open,
- when the device comes back online,
- when you leave the app.
An automatic sync waits until you've stopped typing for a few seconds, so pulled changes never land mid-sentence. Syncing & Conflicts explains what a sync does in detail, and what happens when two devices change the same note.
Other Git hosts
Everything works the same on any host that supports Git over HTTPS. Only the token is created differently:
| Host | Where | What to allow |
|---|---|---|
| GitLab | Preferences → Access tokens | read_repository and write_repository |
| Codeberg, Forgejo, Gitea | Settings → Applications → Access tokens | repository: read and write |
Use your username on that host as the Username.
Next
Your notes are now backed up. Next, get them onto another device.